
Docker containers are lightweight virtual environments that run specific applications on computers without using up resources and memory by only accessing the necessary files, it needs to stay alive and perform specific tasks alone. You can download it for. your particular machine at the downloads page HERE

Installing Docker for Windows
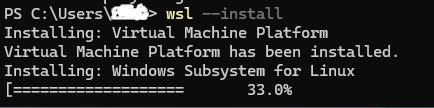
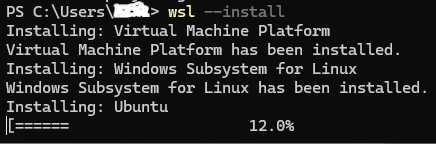
Before you start Docker Desktop on Windows it is a good idea to first install the Linux subsystem for Windows computers, follow the follow the steps below in the windows show to install it via CLI,
wsl --installThe Linux Subsystem fow Windows we will now download the necessary files and install it on your PC,
Immediately after the installation run an update,
wsl --update
Check the installed software version with the command,
wsl --version
Next install Windows Powershell for executing more secure commands, install it using the winget command,
winget install --id Microsoft.PowerShell --source winget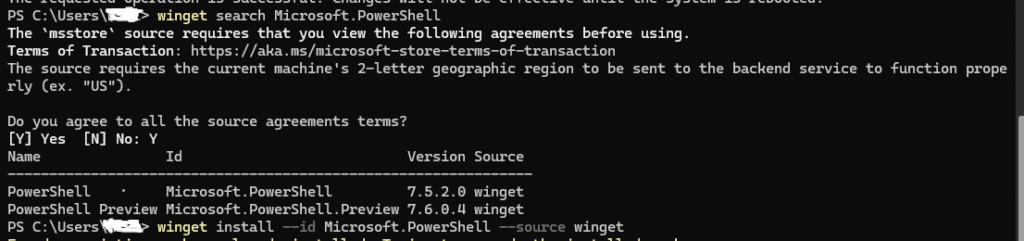
Install Docker Desktop on Windows
You can download Docker for Windows HERE , install it and configure it to run your containers. After downloading the installation file double click it, and it too be installed into your system. By default, Docker Desktop is installed at C:\Program Files\Docker\Docker.
Follow the instructions on the installation wizard to authorize the installer and proceed with the installation. When the installation is successful, select Close to complete the installation process and Start Docker Desktop on your Windows PC
Docker Desktop does not start automatically after installation. To start Docker Desktop: search for Docker application icon and double click Docker Desktop
If your administrator account is different to your user account, you must add the user to the docker-users group to access features that require higher privileges, such as creating and managing the Hyper-V VM, or using Windows containers:
- Run Computer Management as an administrator.
- Navigate to Local Users and Groups > Groups > docker-users.
- Right-click to add the user to the group.
- Sign out and sign back in for the changes to take effect.

Installing Docker for Mac
Go to the official Docker website and download Docker Desktop for Mac. Remember, you have your choice of two processor types, Apple silicon or Intel.
Open the downloaded .dmg file and drag the Docker icon to your Applications folder and run Docker from your Applications folder or Launchpad.
Open a terminal and run docker –version to confirm the installation.
docker --version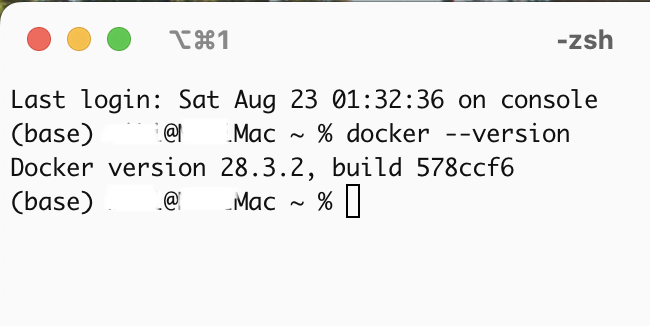
Installing Docker for Linux
Let us install a very compact and optimized Docker engine for any container we will like to run on our machine.
First we open Terminal and run these commands in turn to configure the Docker Repository keys and then later download and install Docker and Docker-Compose.
sudo apt-get install ca-certificates curl gnupgcurl -fsSL https://download.docker.com/linux/debian/gpg | sudo gpg --dearmor -o /etc/apt/keyrings/docker.gpgsudo install -m 0755 -d /etc/apt/keyringscurl -fsSL https://download.docker.com/linux/debian/gpg | sudo gpg --dearmor -o /etc/apt/keyrings/docker.gpgsudo chmod a+r /etc/apt/keyrings/docker.gpg
echo \
  "deb [arch=$(dpkg --print-architecture) signed-by=/etc/apt/keyrings/docker.gpg] https://download.docker.com/linux/debian \
  $(. /etc/os-release && echo "$VERSION_CODENAME") stable" | \
sudo tee /etc/apt/sources.list.d/docker.list > /dev/null
Then we update the system
If using Kali Linux OS you might encounter an error while updating, if so then you will need to run the commands below,
curl -fsSL https://archive.kali.org/archive-key.asc | sudo gpg --dearmor -o /usr/share/keyrings/kali-archive-keyring.gpgecho "deb [signed-by=/usr/share/keyrings/kali-archive-keyring.gpg] http://http.kali.org/kali kali-rolling main contrib non-free non-free-firmware" | sudo tee /etc/apt/sources.list.d/kali.listThen we update the system
sudo apt update
Install Docker & Docker Compose
Now we can install Docker, Docker Compose and all its dependent plugins
sudo apt-get install docker-ce docker-ce-cli containerd.io docker-buildx-plugin docker-compose-plugin docker-compose
Using a file editor like Nano, create or edit the ‘ daemon.json ‘ file in your system in the ‘ /etc/docker/ ‘ folder (create this folder if it is not already available)
First create the file and folder
cd /etc/

mkdir docker

cd docker
Now create and edit the file
sudo touch daemon.json

nano daemon.json
Copy the code below and paste it in the opened file, save it and close the editor
{
  "log-driver": "json-file",
  "log-opts": {
    "max-size": "100m",
    "max-file": "3"
  }
}
Restart and enable the Docker services to run upon system boot
sudo systemctl enable docker.service

sudo systemctl enable containerd.service

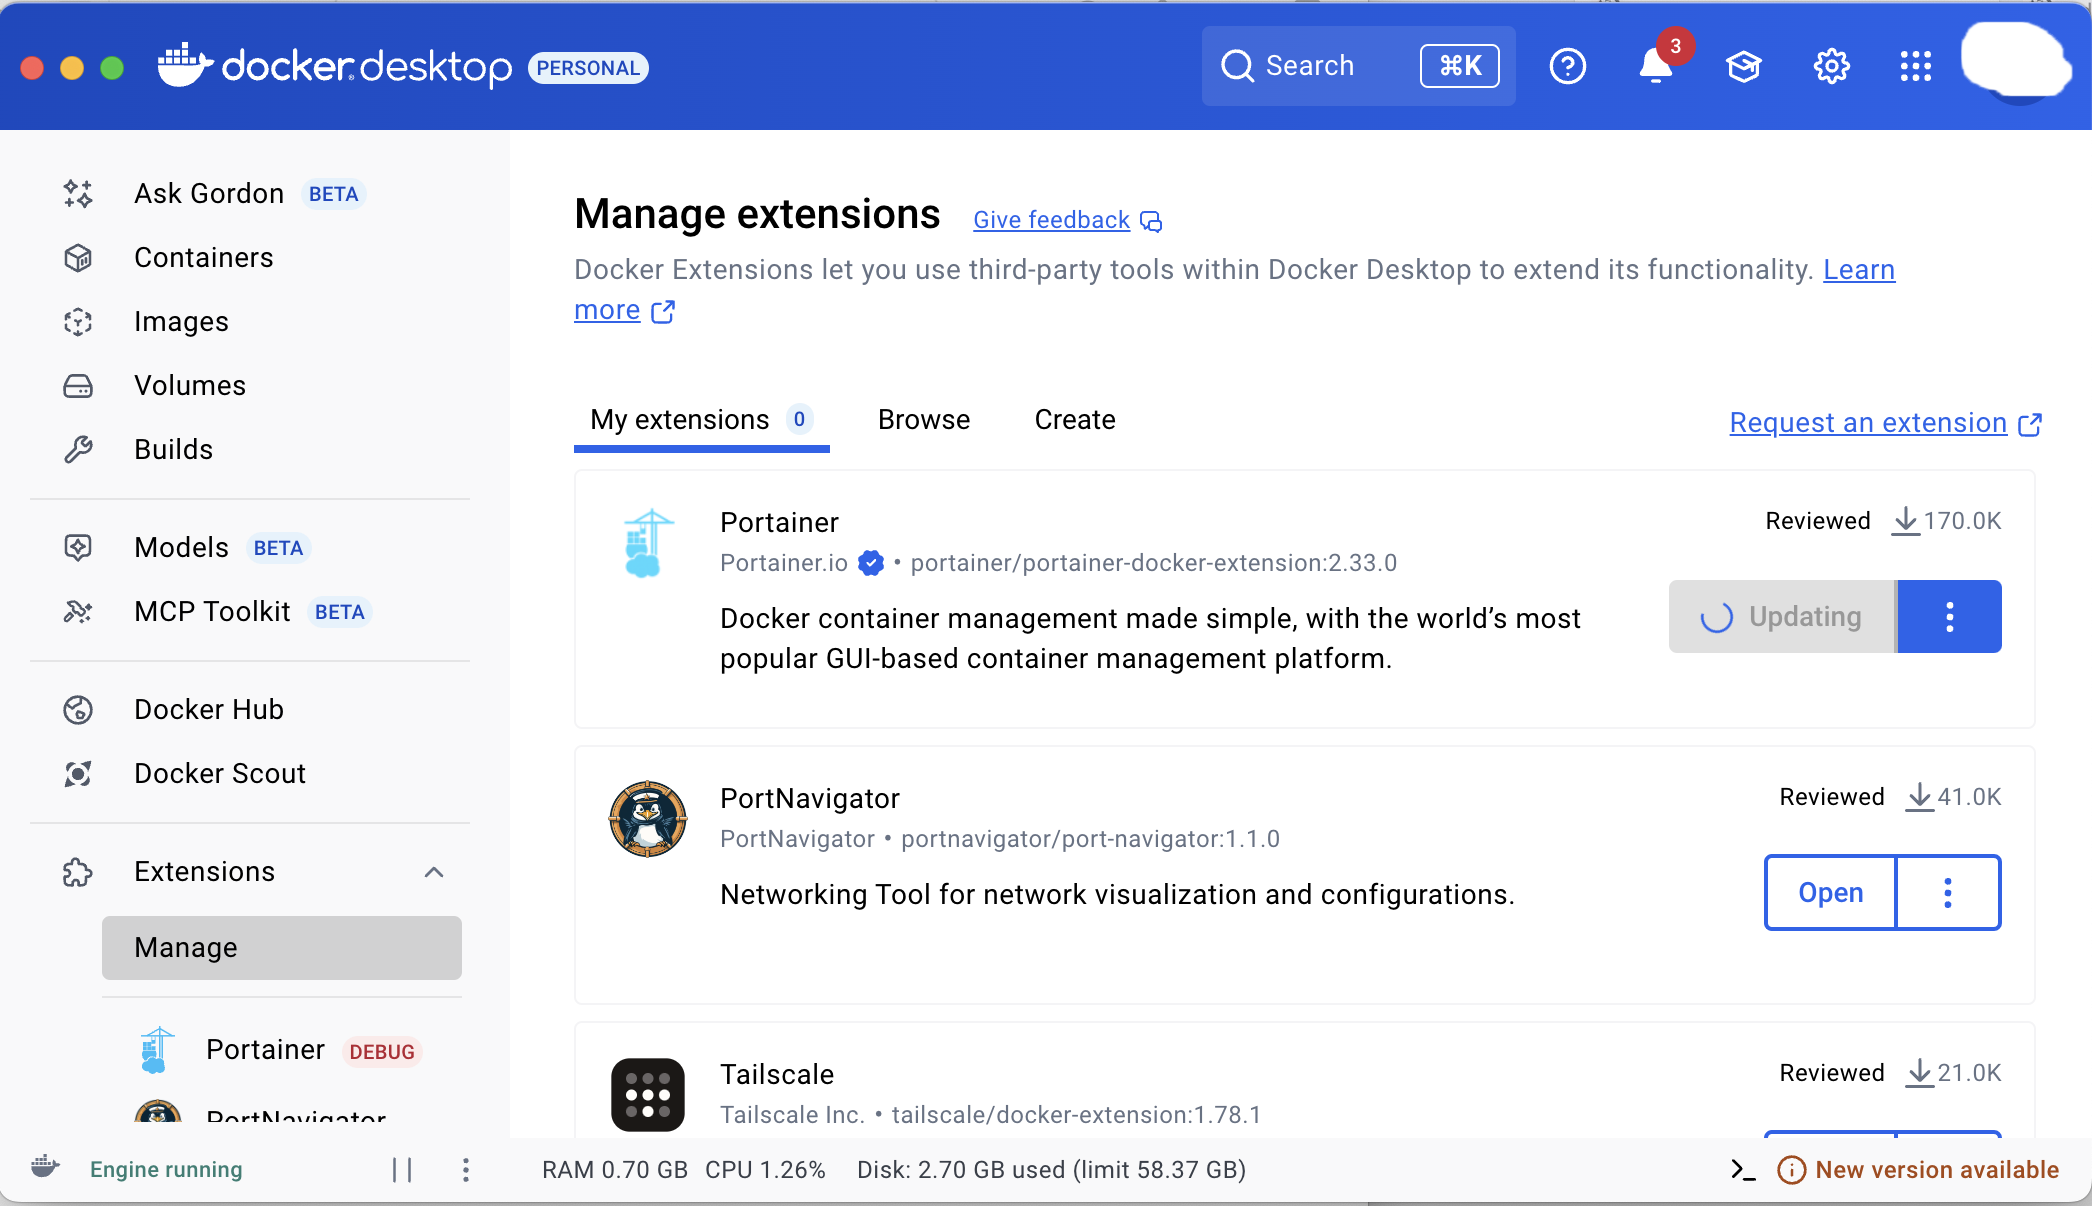
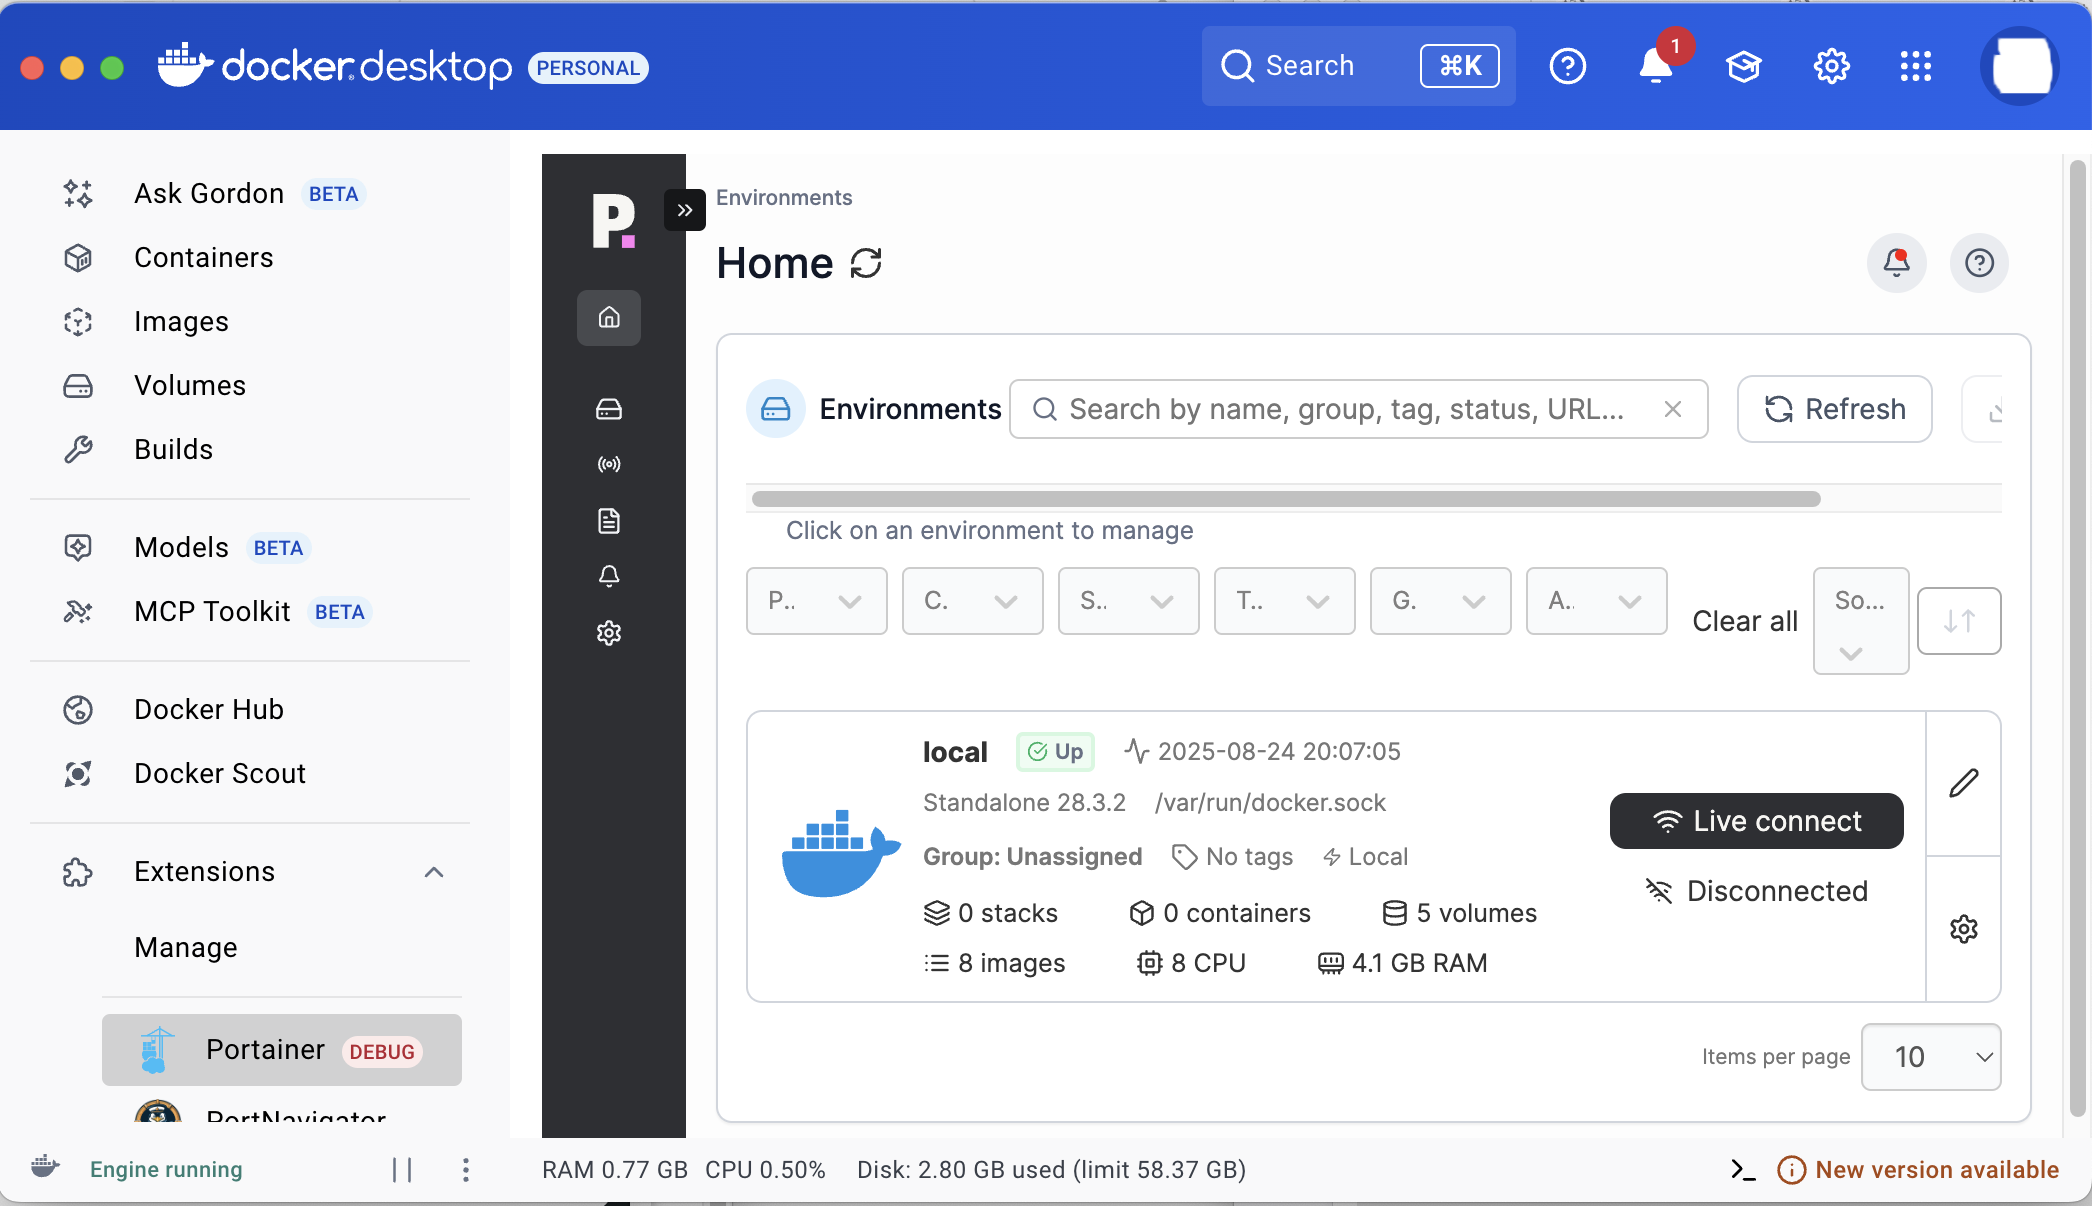
Installing Portainer

Portainer is a Docker container that acts like a manager and monitor for other containers in a Docker network. With Portainer one can easily create, delete, start, stop, pause, edit, and backup all docker containers either manually or automatically.
To install Portainer, Open up the Docker Desktop application dashboard and on the left hand menu column locate extensions and search for Portainer and click on it then click on the browser tab and then select the install button.
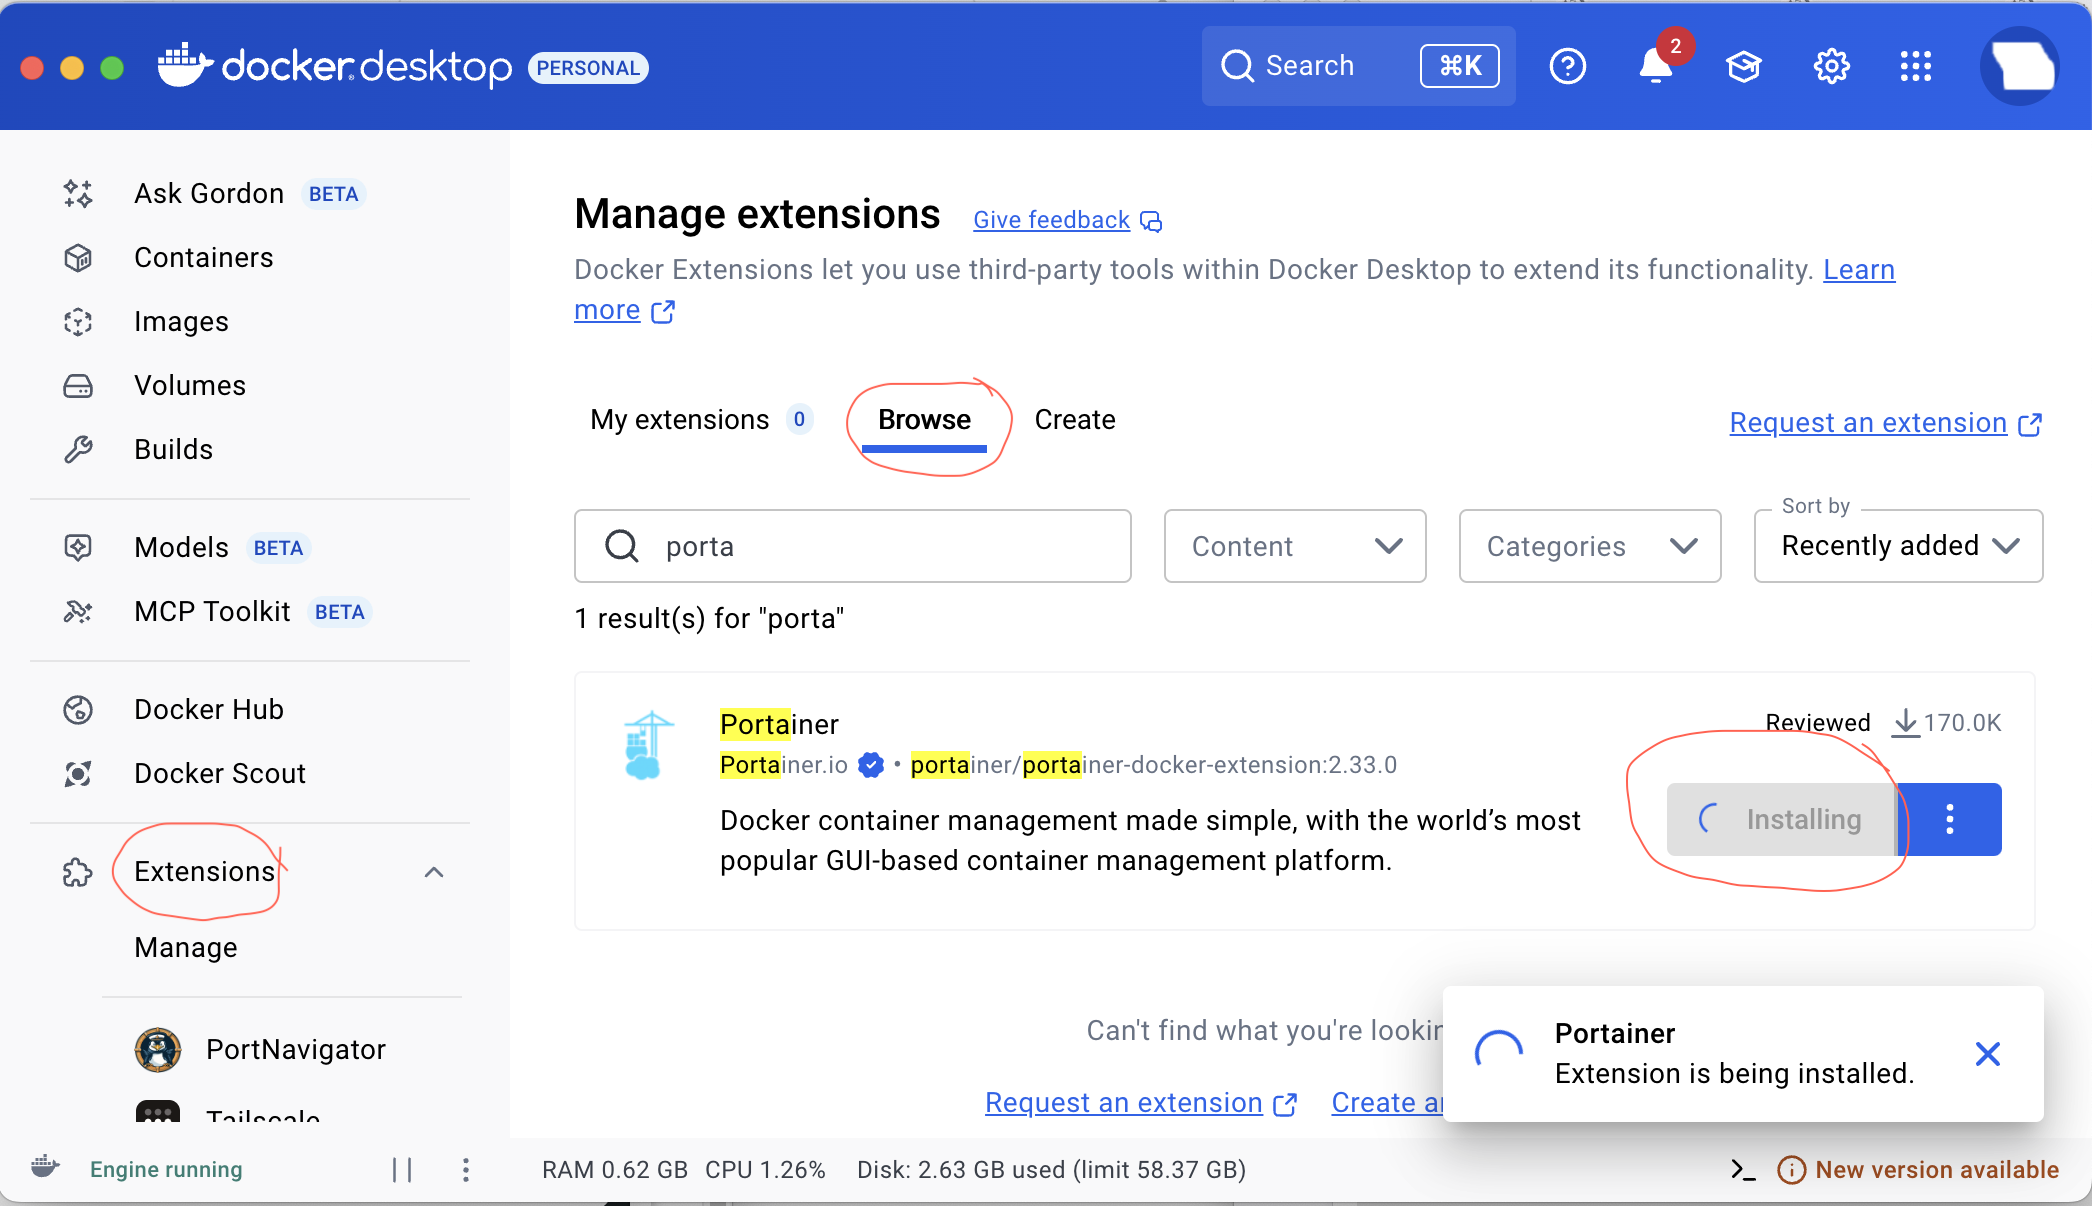
Portainer will then be able to be reached via the icon on the left hand application, column segment off the application screen or visit ‘ https://localhost:9000 ‘ on your web browser,

Installing Portainer for Windows
Docker
Docker

Installing Portainer for Mac
While using a Terminal,
Pull the latest Portainer image from Docker Hub using this command,
docker pull portainer/portainerThen execute the following command to create and start the Portainer container,
docker run -d -p 9000:9000 --name portainer --restart always -v /var/run/docker.sock:/var/run/docker.sock portainer/portainer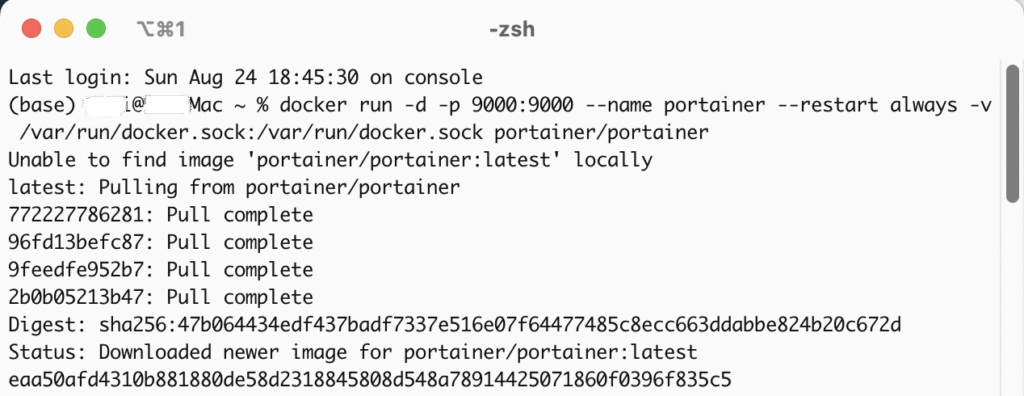
After it is done installing, navigate a new web browser tab on your Mac and visit http://localhost:9000 to view and configure the Portainer Dashboard,
Installing Portainer for Linux
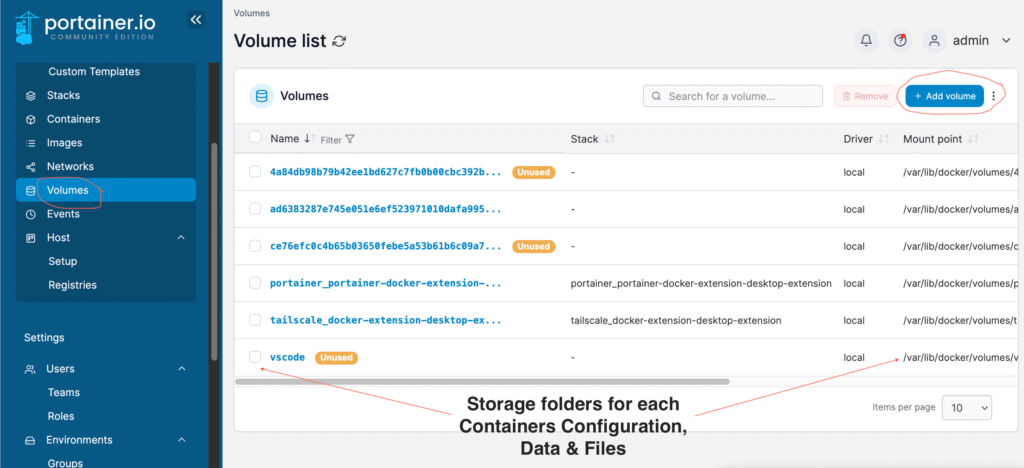
First, we will create a volume that the Portainer Server will use to store its database,
docker volume create portainer_dataThen, we can now go ahead to download and install the Portainer Server container:
docker run -d -p 8000:8000 -p 9443:9443 --name portainer --restart=always -v /var/run/docker.sock:/var/run/docker.sock -v portainer_data:/data portainer/portainer-ee:ltsPortainer will generate and use a self-signed SSL certificate to secure port 9443. You can later configure your own SSL certificate via the Portainer UI after the installation is completed. Next start the Docker Engine and enable Docker to run on system boot,
systemctl start docker
systemctl enable docker
Now that Portainer Server has been installed you can check to see if the Portainer Server container has started by running the command,
docker ps
Post Installation
Logging In
After installing Portainer you would head over to the web page from a browser tab and begin setting up the administration profile. Visit ‘ https://localhost:9443 ‘ to access the GUI login Page,
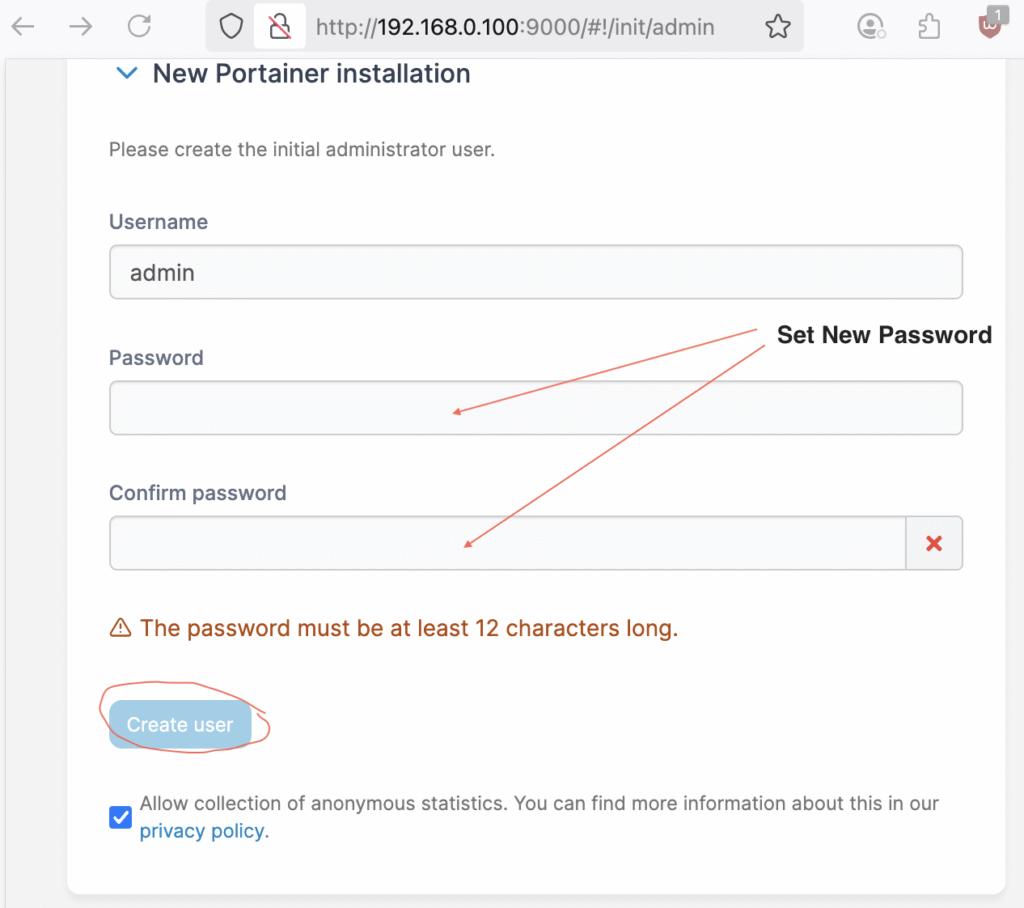
Type in a username (optional), a strong password and then click ‘ Create User ‘. You will then be redirected to the Portainer Dashboard,
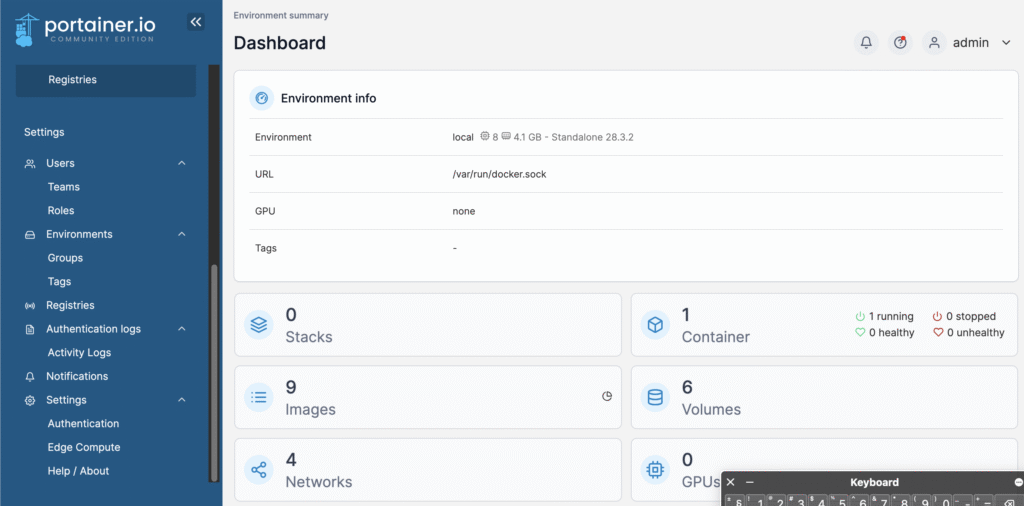
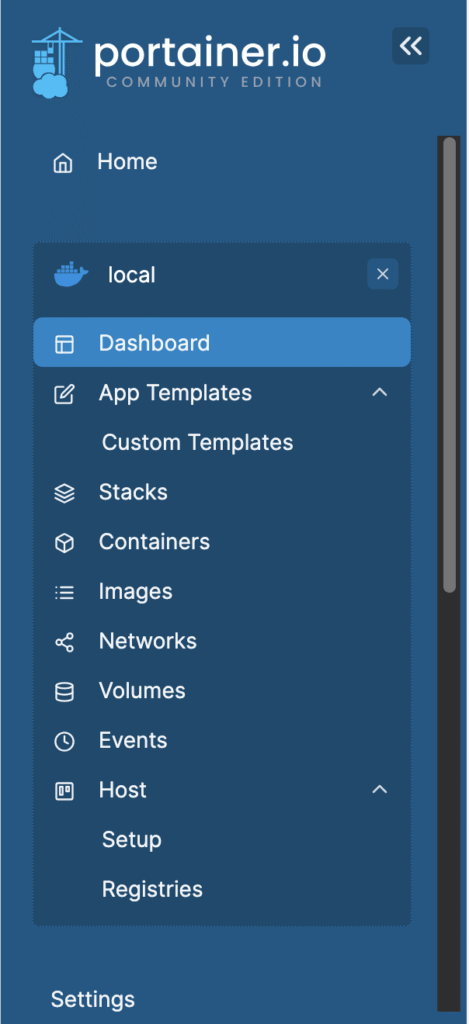
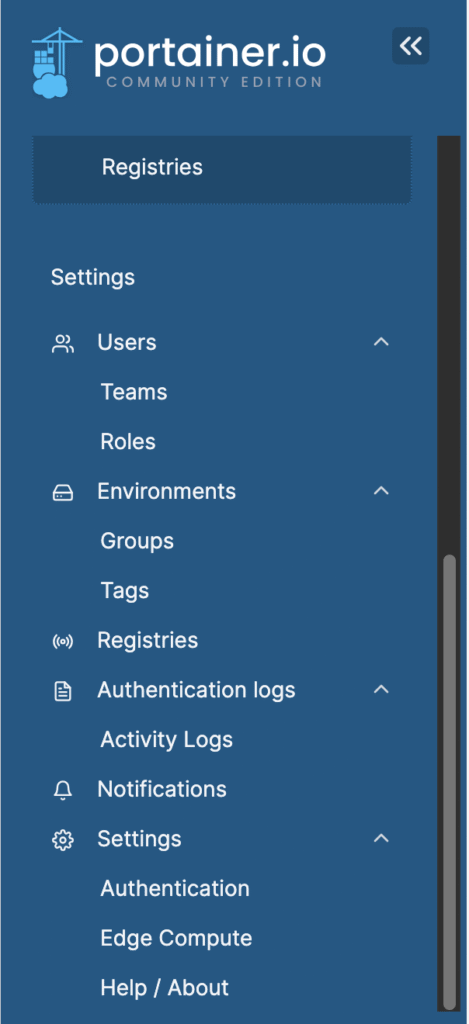
Below is a list of all the menu items on the Portainer Dashboard,
To see a list of all downloaded docker containers navigate to the Images menu,
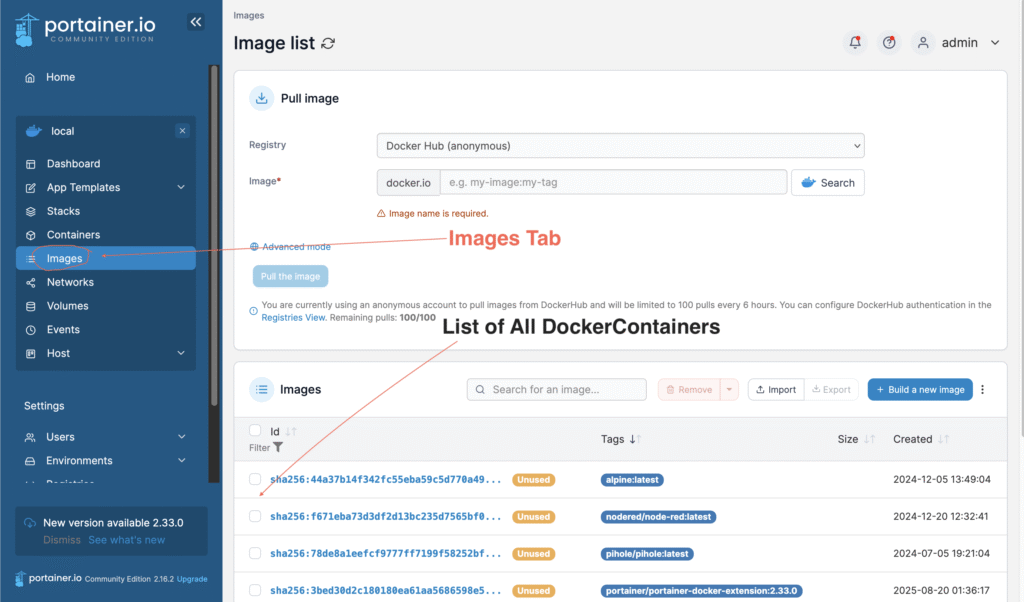
You can also run the command below in Terminal to see all the available docker container images on the system,
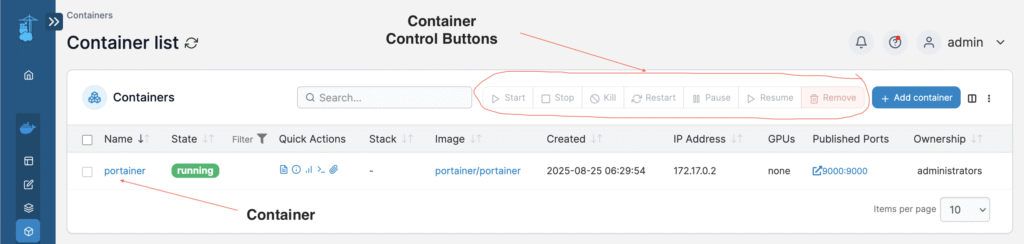
docker imagesYou can clearly see all the accessible container control buttons to easily stop, restart or pause any container you wish to,
View and configure each containers connection properties in the Network menu,
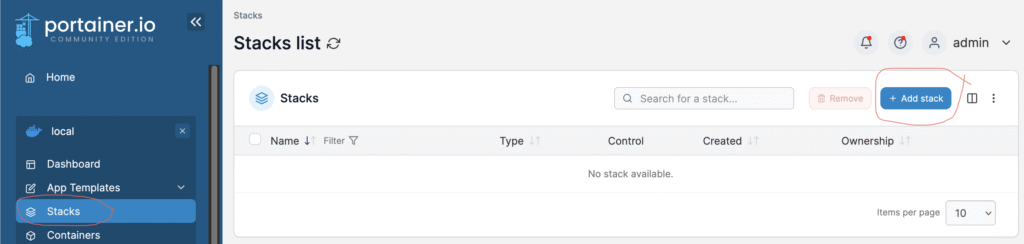
To write, edit and spin up new Docker Compose files go to the Stacks menu,